
The Maintenance Gaps Most Beginner Checklists Leave Out
When you move into your first home, the obvious tasks get all the attention — mow the lawn, change the furnace filter, clean the gutters. But there's a second tier of maintenance that rarely makes it onto beginner guides, even though skipping it can lead to house fires, flooding, or equipment failure that costs thousands of dollars to fix.
None of these jobs are complicated. Most take less than an hour and cost little to nothing. The problem is that they're invisible — tucked behind appliances, under floors, or inside walls — so they simply don't occur to new owners until something goes wrong. Our guide to common maintenance myths covers how inaction often ends up being the most expensive choice of all.
Below are the hidden jobs worth adding to your rotation — and a plain explanation of why each one actually matters.
Clean the dryer vent duct — not just the lint trap
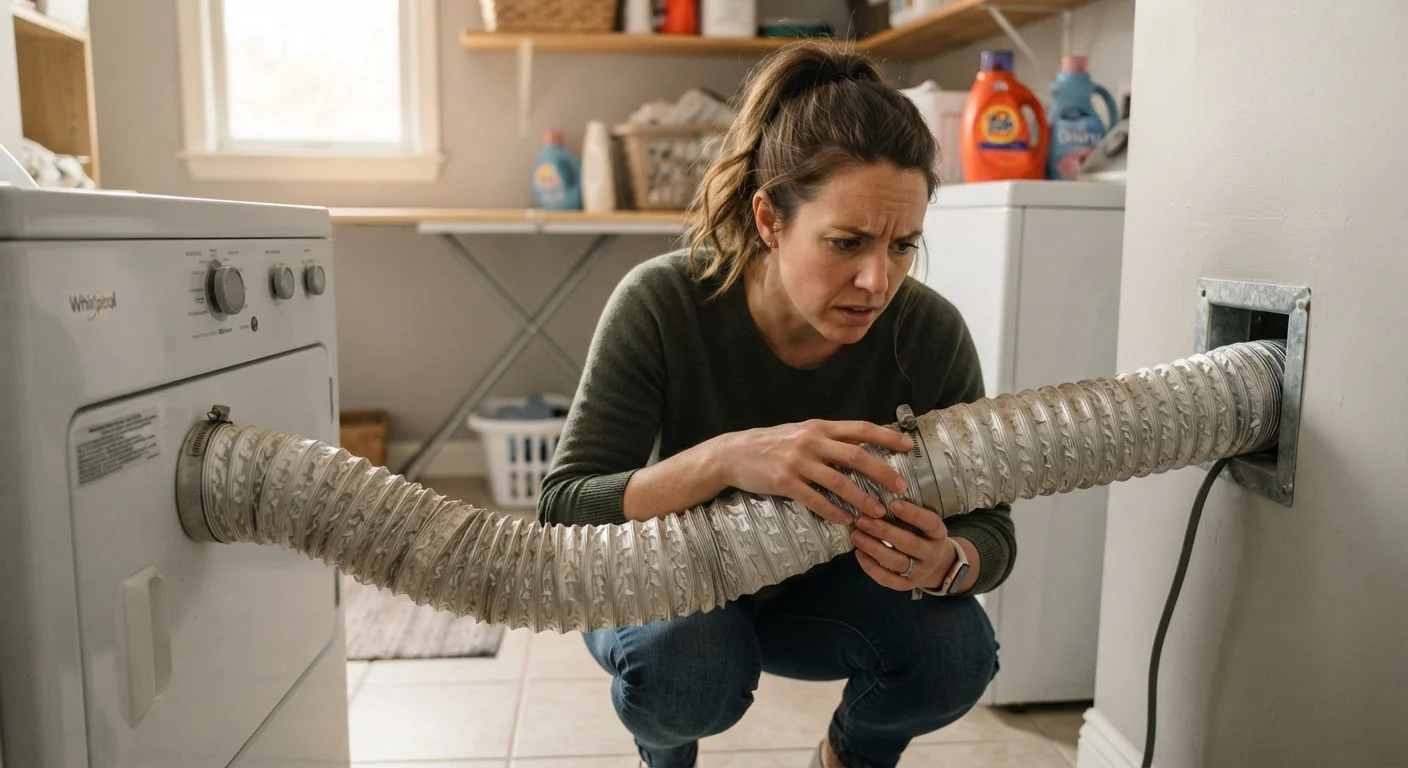
The lint trap catches a lot, but lint still builds up in the duct that runs from your dryer to the exterior vent. Over time, that buildup restricts airflow and creates a fire hazard. The U.S. Fire Administration has identified dryer vent clogs as one of the leading causes of residential appliance fires.
Pull the dryer away from the wall once a year, disconnect the flexible duct, and use a long-handled brush kit (sold at most hardware stores) to clear lint from the full length of the duct. Also check the exterior vent flap to make sure it opens freely and isn't blocked by debris or a bird nest.
Lint in the duct — not just the trap — is one of the most common causes of appliance fires.
Test the water heater's pressure relief valve
The TPR valve is a small safety device on the side or top of your water heater. Its job is to release pressure if the tank ever overheats or builds up too much pressure — without it, a malfunctioning heater can become dangerous. The valve itself can corrode or seize up over time, especially if it hasn't been tested in years.
Once a year, carefully lift the test lever briefly to make sure it moves freely and lets out a small burst of water or steam. If nothing comes out, or if the valve drips continuously afterward, it may need to be replaced by a plumber. For more on water heater upkeep overall, see our water heater maintenance guide.
A stuck TPR valve can't do its job — test it once a year to make sure it moves freely.
Check and test your sump pump before rainy season
If your home has a basement or crawlspace, there's a good chance it also has a sump pump — a device that collects groundwater and pumps it away from the foundation. Many homeowners never think about it until their basement floods during a heavy rain and the pump fails to kick on.
Test yours a couple of times a year by slowly pouring a bucket of water into the sump pit until the float rises and the pump activates. Make sure water is discharging properly through the outlet pipe. Also check that the pit is clear of debris and that the pump sits upright. A backup battery unit is worth considering if your area gets heavy storms.
Test your sump pump before rainy season — not after your basement is already wet.
Recaulk around tubs, showers, and sinks
Caulk is the flexible sealant that fills the gap between your tub or shower and the surrounding tile or wall. It prevents water from seeping behind surfaces where it can cause mold, rot, and structural damage. The problem is that caulk shrinks and cracks over time — usually within a few years — and many new homeowners don't realize it needs to be refreshed periodically.
Inspect the caulk lines in your bathrooms and kitchen once a year. If you see cracking, separation, or dark discoloration (a sign of mold), remove the old caulk with a utility knife and apply a fresh bead of silicone or latex caulk rated for wet areas. Our guide to grout and caulk upkeep walks through the process in detail.
Cracked caulk around a tub is an open invitation for water to damage the wall behind it.
Flush sediment from the water heater tank
Over time, minerals from tap water — mainly calcium and magnesium — settle at the bottom of your water heater tank. This sediment layer insulates the water from the burner, forcing the heater to work harder and use more energy. It also shortens the tank's lifespan and can cause rumbling or popping sounds when the heater runs.
Flushing the tank once a year is straightforward: turn off the heater, connect a garden hose to the drain valve at the bottom, run the hose to a floor drain or outside, and let the tank drain until the water runs clear. Check your owner's manual for the exact steps for your unit, and use caution — the water will be very hot.
Sediment buildup quietly shortens your water heater's life and raises your energy bill.
Inspect and clear bathroom exhaust fan vents
Bathroom exhaust fans pull humid air out of the room to prevent mold growth — but only if the duct is actually clear and the fan is working efficiently. Dust accumulates on the fan grille and inside the duct over time, reducing airflow. In some cases, the duct disconnects inside the attic or wall and begins venting moist air directly into insulation, which can cause significant hidden damage.
Once a year, remove the fan grille and vacuum the blades and housing. Then verify that the duct is connected all the way to the exterior vent — you can usually feel airflow from outside when the fan is running. If the fan sounds loud or ineffective even after cleaning, it may be time to replace the unit.
A clogged or disconnected exhaust fan duct sends moisture straight into your walls or attic.
Make These Part of Your Routine
The hardest part of catching up on overlooked maintenance is simply knowing the tasks exist. Once you've done each of these once, they become quick, familiar checks — the kind you can knock out on a Saturday morning before lunch.
Build a simple annual maintenance calendar
Pick one weekend each season to tackle a few of these tasks in a row. Grouping them by season — for example, checking your sump pump each spring and flushing your water heater each fall — makes them easier to remember. Our month-by-month maintenance reference can help you slot each task into the right time of year.
If you want a structured way to stay on top of everything, see our guide to keeping a home maintenance log. Recording the date each task was completed takes about 30 seconds and pays off when something fails and you need to know the last time it was serviced. For a broader picture of what the first year of ownership really looks like, this overview for first-year homeowners is a good starting point.
This article is for general informational purposes only. For tasks involving gas lines, electrical panels, or structural components, consult a licensed professional and verify local permit requirements before proceeding.