
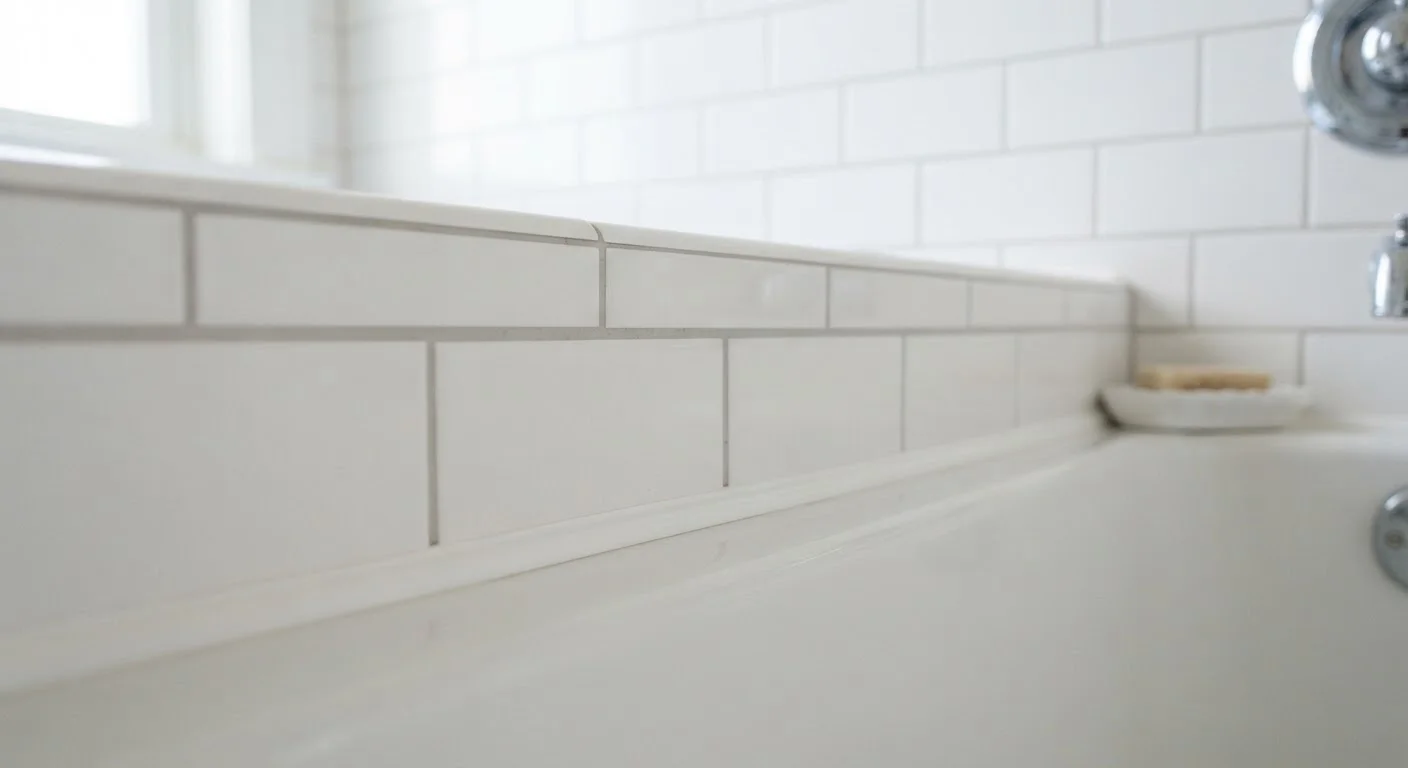
Why Grout and Caulk Matter More Than You Might Think
Tile looks solid and permanent, but the lines between tiles — and the bead of sealant running along corners and edges — are doing quiet, critical work every day. Grout (the rigid filler between tiles) and caulk (the flexible sealant used at corners, edges, and transition points) keep water where it belongs: on the surface and down the drain.
When either one cracks, shrinks, or goes moldy, moisture finds a path behind the tile. Over time, that hidden water damages backer board, subfloor, and framing — repairs that cost far more than a Saturday afternoon with a grout saw and a caulk gun. This kind of slow damage is exactly what the home maintenance myths article warns about: small, ignored problems that quietly become expensive ones.
The good news is that basic grout and caulk upkeep is genuinely beginner-friendly. You don't need specialized skills — just the right materials and a clear process.
What you will need
What to Use Where: Grout vs. Caulk
Mixing these two up is one of the most common beginner mistakes. Here's the simple rule:
- Grout goes in the joints between tiles on flat surfaces — the main field of a shower wall or kitchen backsplash. It's rigid once cured and is not designed to flex.
- Caulk goes anywhere two surfaces meet at an angle or where movement is likely: the joint where tile meets the tub, the inside corner of a shower, or where the backsplash meets the countertop. Because these joints shift slightly with temperature and humidity, they need a flexible sealant.
Using grout in a corner joint will almost always result in cracking within months. For more on choosing the right sealant product for different gaps around your home, see our guide on caulking vs. weatherstripping.
Grout saw or oscillating multi-tool
Removes old, damaged grout from between tiles without cracking the tile itself.
Utility knife
Cuts away old, failing caulk cleanly from corners and edges.
Caulk gun
Applies a smooth, controlled bead of caulk along joints and corners.
Unsanded or sanded grout (as needed)
Refills tile joints; unsanded for joints under 1/8 inch, sanded for wider joints.
100% silicone or siliconized latex caulk
Creates a flexible, waterproof seal at corners and transition joints.
Grout float
Spreads and presses grout into joints evenly across tile surfaces.
Penetrating grout sealer
Seals porous cement grout after installation to resist staining and moisture.
Painter's tape
Masks the edges of a caulk joint for a neat, straight bead.
How to Inspect, Regrout, and Recaulk
Work through the steps below in order. The inspection step alone takes only a few minutes and is worth doing every spring — it fits naturally into a broader seasonal walkthrough like the one described in our spring home inspection guide.
Inspect all grout lines and caulk beads
Look closely at every grout joint in the shower, tub surround, and kitchen backsplash. Run your fingertip along the lines — healthy grout feels firm and solid. Note any spots that are crumbling, hollow-sounding when tapped, or discolored with black mold that won't wipe off. Then inspect all caulk at corners and edges for cracking, peeling, or gaps. Even a small gap at the tub edge is a water entry point.
Remove damaged grout
Use a grout saw (a narrow hand tool with a carbide blade) or an oscillating multi-tool with a grout blade to carefully rake out damaged sections. You only need to go about 1/8 to 3/16 inch deep — enough to create a clean channel for new grout. Work slowly and keep the tool in the joint rather than dragging it across tile faces. Vacuum or brush out all loose debris when done.
Mix and apply new grout
Follow the grout manufacturer's mixing directions. The consistency should resemble peanut butter — thick enough to hold its shape. Press grout into the cleaned joints using a rubber grout float, holding it at a 45-degree angle and sweeping diagonally across the joints to pack them fully. Work in small sections of two to three square feet at a time.
Clean the tile face and cure the grout
Wait about 15–20 minutes after applying grout, then wipe the tile surface with a damp (not soaking wet) sponge in a circular motion to remove the haze left on the tile faces. Rinse the sponge frequently. Allow the grout to cure fully — typically 24–72 hours — before exposing it to water. Check the product label for the exact cure time.
Remove old caulk and prep the joint
Use a utility knife or a dedicated caulk removal tool to slice along both edges of the old caulk bead and peel it away cleanly. Remove every trace of the old material — new caulk will not bond well over existing residue. Clean the joint with rubbing alcohol on a cotton ball and let it dry completely before applying new caulk.
Apply new caulk
Cut the caulk tube tip at a 45-degree angle to create a small opening roughly matching the width of your joint. Load the tube into the caulk gun and apply steady, even pressure as you draw the gun along the joint in one smooth pass. Immediately smooth the bead with a wet fingertip or a caulk-finishing tool. If you used painter's tape, remove it while the caulk is still wet. Allow it to cure fully — typically 24 hours — before using the shower or tub.
Mold Behind Tile Requires Professional Help
If you remove grout or caulk and find dark staining that extends behind the tile, or if tiles feel soft or spongy when pressed, stop and call a licensed contractor. Mold remediation and backer board replacement in wet areas involve work that typically requires proper containment and sometimes local permits. Proceeding without addressing the underlying damage will cause the problem to return quickly.
Keeping It in Good Shape Long-Term
Once your grout and caulk are fresh, a little routine care keeps them that way. Wipe tile surfaces dry after showers when possible — standing moisture is the main enemy. Use a pH-neutral cleaner rather than bleach-heavy sprays, which can break down grout over time. Re-seal porous grout (the unglazed cement type) with a penetrating grout sealer once a year; this is a simple wipe-on application that takes under 20 minutes.
Caulk typically needs to be replaced every 3–5 years in high-moisture areas, even when it looks intact. Add it to your annual inspection list alongside the maintenance tasks new homeowners often overlook. Catching a failing caulk bead early is a five-dollar fix; ignoring it can become a five-thousand-dollar subfloor replacement.
Seal Your Grout Once a Year
Cement-based grout is porous and absorbs moisture and staining agents readily. Applying a penetrating grout sealer once a year — simply wiped on and buffed off — dramatically extends the life of your grout and makes routine cleaning much easier. This one step takes less time than scrubbing discolored grout.