
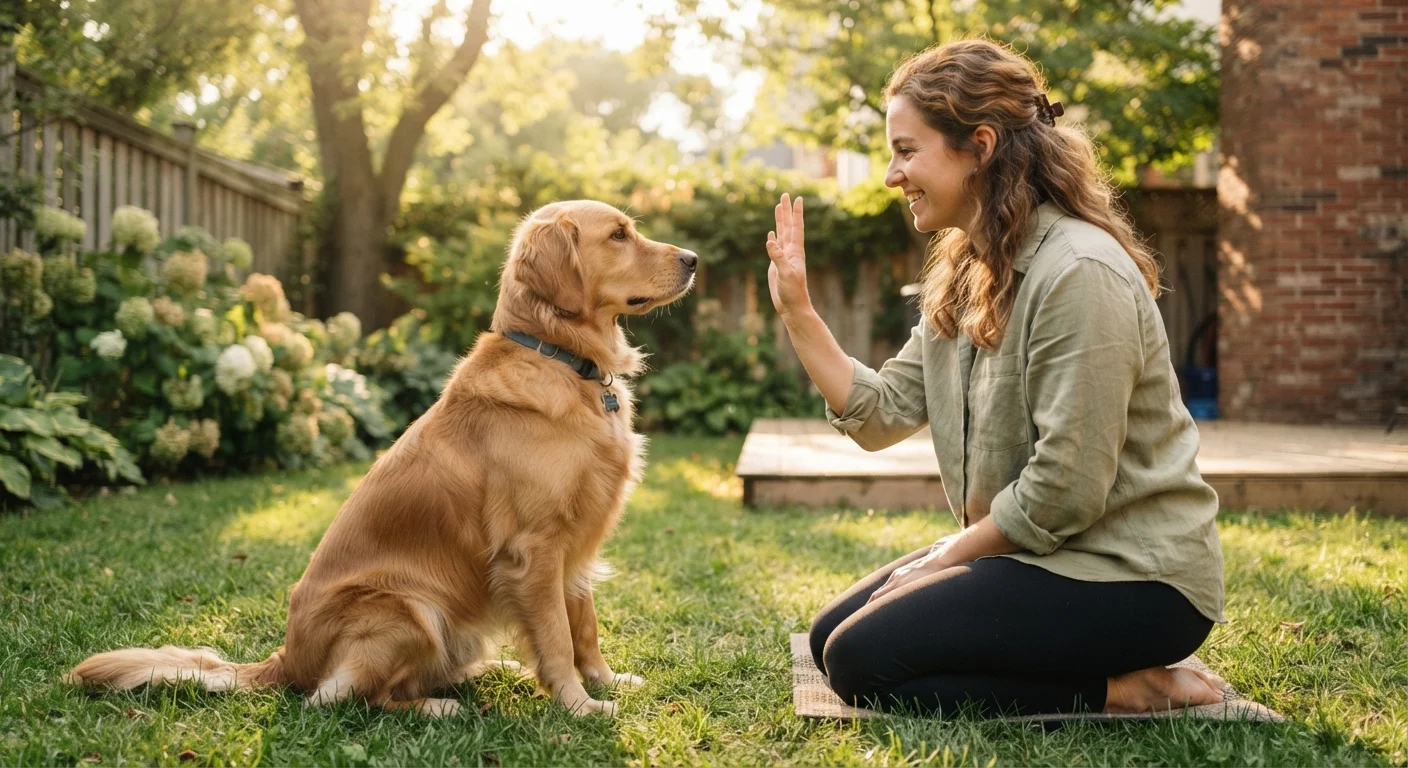
Why "Stay" Is More Than One Skill
Most families picture "stay" as a single command, but trainers and animal behaviorists break it into three distinct challenges: duration (how long your dog holds position), distance (how far away you move), and distraction (what's happening around your dog while they hold the stay). These are sometimes called the three D's.
The reason dogs fail at "stay" is almost always that an owner increased two or three of these variables at the same time before the dog was ready. A dog that holds a stay for 10 seconds with you standing directly in front of them is not automatically ready to hold it for 10 seconds while you walk 15 feet away and a child runs past. Each D is a separate skill that needs its own practice track.
If you're just starting out with a new dog, our week-by-week training roadmap explains where "stay" fits within a broader foundation of early skills. It's also worth checking out common pet training myths that may be undermining your sessions without you realizing it.
What you will need
What You'll Need Before You Start
Training "stay" doesn't require special equipment, but a few basics make the process smoother and more consistent for both you and your dog.
Small, high-value treats
Used to mark and reward the dog for holding the stay; small size keeps sessions moving without overfeeding.
Treat pouch or pocket
Keeps rewards immediately accessible so you can mark and deliver within 1–2 seconds of the correct behavior.
Clicker or verbal marker ("yes")
A precise marker signal tells your dog the exact moment they've earned a reward, speeding up learning.
Standard 6-foot leash
Provides a gentle safety net during early distance work so the dog cannot self-reward by wandering off.
Short, well-timed sessions are also critical. Research consistently shows that frequent, brief practice outperforms long, sporadic ones. Our guide on training session timing and frequency explains exactly why this works and how to structure your week.
Step-by-Step: Building Each Pillar
Follow these steps in order. Only move forward when your dog succeeds reliably — roughly 8 out of 10 attempts — at the current level. If your dog breaks the stay at any point, calmly reset without scolding and try a slightly easier version.
Introduce the Cue and Hand Signal
Ask your dog to sit or lie down. Once they're settled, say "stay" in a calm, clear voice and hold your open palm toward them like a stop sign. Wait just 2–3 seconds, then mark (click or say "yes") and deliver a treat without moving your feet. Repeat 8–10 times per session.
Build Duration (Pillar 1)
Once your dog holds a 2–3 second stay reliably, start extending the time. Add 2–3 seconds per successful session rather than jumping ahead. Work up gradually toward a 30-second stay with you standing still right in front of them. Only after this is solid should you add distance.
Vary the duration unpredictably — sometimes reward at 5 seconds, sometimes at 15 — so your dog doesn't learn to anticipate and break at a specific count.
Add Distance (Pillar 2)
With duration solid, begin stepping back one step at a time. Cue "stay," take one step back, pause briefly, return to your dog, then mark and reward. Always return to your dog to release and reward — do not call them to you yet, as that teaches them the stay ends when you call, not when you release.
Build to 10 feet over multiple sessions before pushing further.
Introduce Distractions (Pillar 3)
Start with mild distractions: a toy placed nearby, another person walking casually through the room, or a soft noise. If your dog holds the stay, reward generously — this deserves a jackpot of several treats. Gradually increase intensity: more movement, louder sounds, outdoor environments.
Reset the duration and distance back to easy levels when you introduce a new distraction. Your dog's attention budget is finite — a big new distraction uses most of it.
Use the Release Word Every Single Time
Your release word is what tells your dog the stay is over. Say it clearly and consistently — "free," "okay," or whatever word your family chose — every time you end a stay, whether the session went perfectly or not. This teaches your dog that the command is in effect until you say otherwise, which is the foundation of a truly reliable stay.
Consistency Across the Whole Family
If one family member says "stay" while another says "wait" — or if someone lets the dog break position without a release word — your dog will learn to read the situation rather than the command. Hold a quick family meeting before training starts and agree on one cue, one hand signal, and one release word. Everyone using the same language makes your dog's job much easier.
If you have children who want to participate in practice, our article on teaching kids to join pet training offers age-appropriate roles that make sessions fun and safe for everyone.
Troubleshooting a "Stay" That Keeps Breaking
If your dog consistently breaks the stay before you release them, the most productive question to ask is: which D am I making too hard? Go back to the last level where your dog succeeded and rebuild from there — this is not failure, it is accurate training.
A few specific patterns to watch for:
- Breaking early on duration: Your treats may be arriving too slowly. Mark and reward more frequently during the hold, then gradually space rewards out.
- Breaking when you step back: Try stepping to the side instead of directly away. Lateral movement is less threatening to a dog's sense of connection with you.
- Breaking under distraction: The distraction is too intense. Go back to a quieter environment, succeed there, and work back up gradually.
Dogs don't generalize automatically — a dog that stays perfectly in your kitchen may seem to "forget" the command in the front yard. This is normal. Plan to practice in at least three or four different locations before expecting reliable performance in new environments.
A similar generalization problem often shows up with recall. If your dog also struggles to come when called, our article on why dogs ignore the "come" command covers the most common causes and fixes.
Never Use Punishment to Enforce Stay
Punishing a dog for breaking a stay — scolding, leash corrections, or physical pressure — typically increases anxiety rather than teaching the dog what to do instead. Dogs learn faster and stay calmer when training relies on reward and clear communication. If your dog is repeatedly breaking the stay, the training criteria are simply too hard for the current stage — reduce the difficulty and rebuild.